Trigger Action - Update Data

You may need to update a field in your database with data supplied by you or a customer.
- On the Trigger Actions panel, click "Add New Trigger Action". Depending on your starting point, you may need to select a profile, click "Edit Trigger Profile", and then click the Actions tab. The New Trigger Action panel appears.
- Click Update Data Action and click Next.
-
Note the description of this trigger and click Next. The Update Trigger Action Wizard appears.
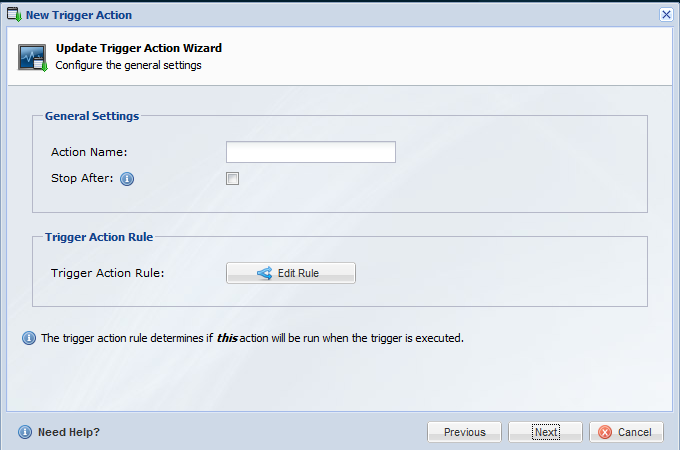
- In the Action Name field, enter a descriptive name for this action.
- If you want to stop all other trigger actions after this profile runs -- if this is the last action you plan to run -- check Stop After.
- Click Edit Rule and use the standard Logiforms Rule screen to select one or more fields and define the settings that determine when this action will be run.
- Click Next. The Update Values panel appears.
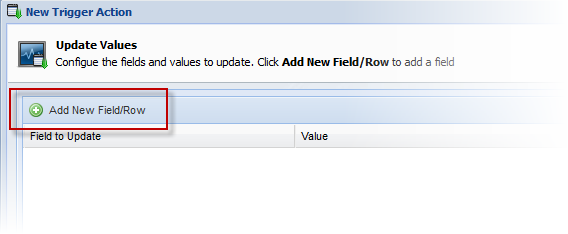
- Click "Add New Field/Row". The first row becomes available for you to work in.
- Click the blank space under "Field to Update". The fields of your form display in a dropdown list.
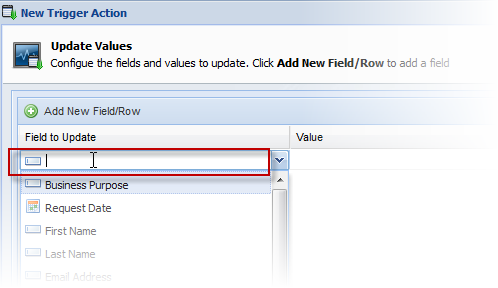
- Depending on your business requirements, select the field that you want this trigger to update. For example, you may want to change a status from Received to Shipped.
- Click the blank space under Value and a field opens for you to enter data.
- Type the data that you want this field to hold after the trigger is run.
- You can add another field to update by clicking "Add New Field/Row" again. If you want to delete a field/row, click the red X at the end of that row.
- Click Finish when you're done.
Next Steps
Click Finish to return to the Trigger Profiles panel or click "Add New Trigger Action" to add another action to this profile.
If you need to edit or delete a trigger action or profile, see Managing Triggers.
Have more questions? Submit a request
Please sign in to leave a comment.
0 Comments