Trigger Action - Transfer Record to Another Table

You may need to transfer a record to another table in order to satisfy your business requirements. For example, after a transaction is completed. you may want to move its record, or part of it, to an archive table. Before you begin, be sure that you have created the destination table and tested it by adding at least one record.
- On the Trigger Actions panel, click "Add New Trigger Action". Depending on your starting point, you may need to select a profile, click "Edit Trigger Profile", and then click the Actions tab.
- Click Transfer Action and click Next.
- Note the description of this trigger and click Next. The "Transfer Trigger Action Wizard" panel appears.
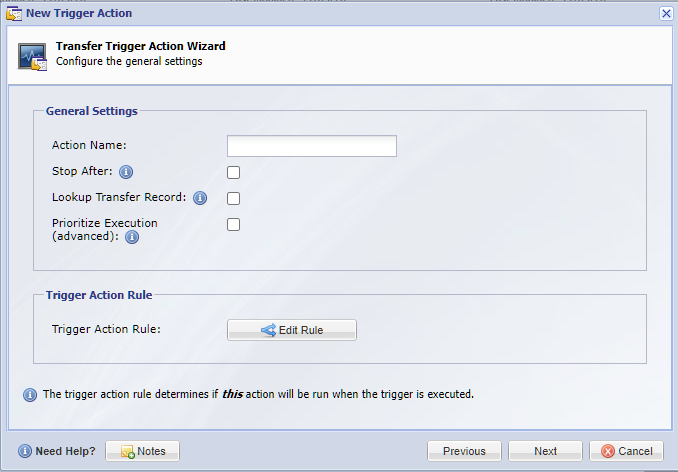
- In the Action Name field, enter a descriptive name for this action.
- If you want to stop all other trigger actions after this profile runs -- if this is the last action you plan to run -- check Stop After.
Prioritize Execution Checkbox
When checked, this action will execute immediately, and not wait until other actions and events that are part of this request are completed.
This should only be used in particular scenarios and is typically not required.
For example, when checked, the recordID (on an insert) would not exist and would not be available. If an update trigger action followed this one, the changes from that action would not be applied yet, and PDF document generation would not be complete etc. This setting should be reserved for use only when the default (unchecked) is not working for your specific usage.
- The Lookup Transfer Record checkbox, when checked, allows you to lookup (from another forms database) the record that will get transfered.
- Click Edit Rule and create the rule for when you want to update data, using the standard Logiforms Rules screen.
- Click Next. The Destination Settings panel appears.
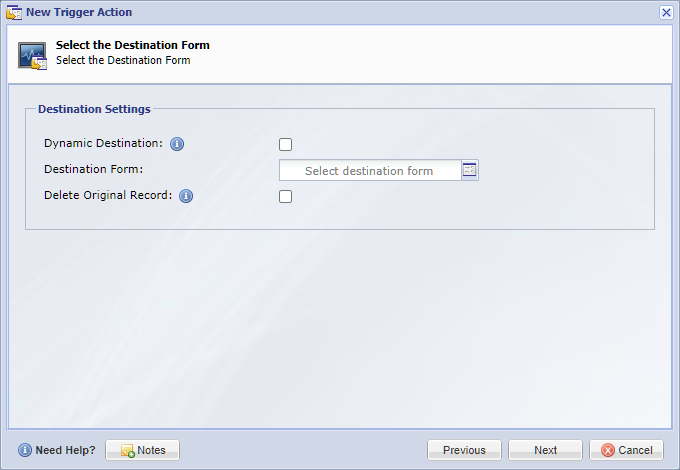
- The Dynamic Destination checkbox, is an advanced option, used only in very specific implementations. When checked, you will be asked to select a field on your form that will contain the FORMID of the destination form. This should be used when the destination form is dynamic. Once selected, you will be asked to choose the field on your form that contains the destination FORMID.
Advanced: Dynamic Destination
When using the Dynamic Destination Option, the Dynamic Destination Source Field can contain a single FORMID or a list of FORMID's. When there is alist of FORMID's, the record being transfered will be transfered to each of the forms found in the list. - If the Dynamic Destination checkbox is left unchecked, you can simply select the destination form from the Destination Form field.
- If you want the record deleted from its current location after the transfer, check the Delete Original Record box.
If you do choose to delete this record after transfer, remember to put this action at the end so it runs last. No other action can be performed on this record after it's deleted.Click Next.
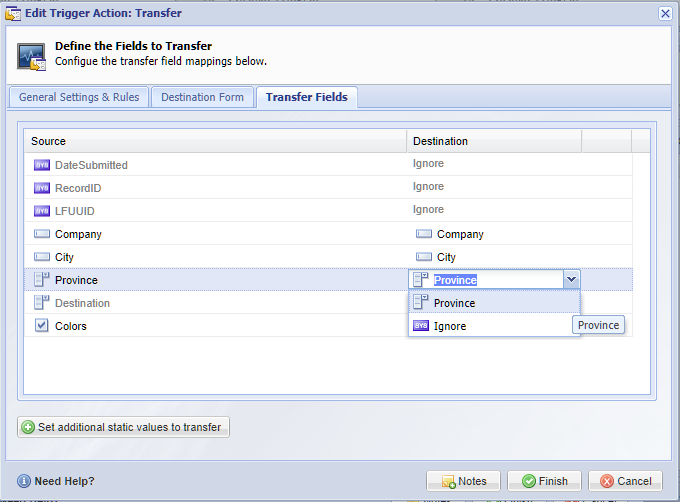
The "Define the Fields to Transfer" panel appears.
Dynamic Destination Considerations
If you selected a dynamic destination option on the previous screen, the wizard has no way of knowing what the destination form will be. In this case, what you'll on the field mapping screen will be slightly different. The right side column of destination fields will support free text entry, and you will be asked to enter the name of the destination field. It is important that the name matches exactly the name on the destination form and that the field is not later renamed. - The Source fields are on the left and the Destination fields are on the right. Matching field names display side-by-side.
- Click a field in the Destination side to see a dropdown list of fields available to transfer the source field to. You can also select Ignore from the list if you do not want that field transferred over.
- The Set Additional Static Values to Transfer button below the remap table, when clicked, will open a new window where you can set static values to set on the newly transfered/created records.
- Then click Next. You are returned to the Trigger Actions panel.
Next Steps
Click Finish to return to the Trigger Profiles panel or click "Add New Trigger Action" to add another action to this profile.
If you need to edit or delete a trigger action or profile, see Managing Triggers.
0 Comments