Search Page
A Search Page is a child page of a Data Page. Search Pages allow you to set up a simple search form and decide which fields will be searchable and how the search will be performed.
Creating a Search Page
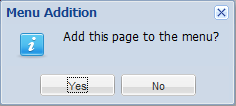
Right click on a Data Page in the Workflow Outline Panel and select Insert New > Search Page. The Search Page is created automatically, and you are asked if you would like to add the new page to the menu.

Clicking 'yes' to this dialog will automatically add the Search Page to the main menu.
Configuring the Search Fields
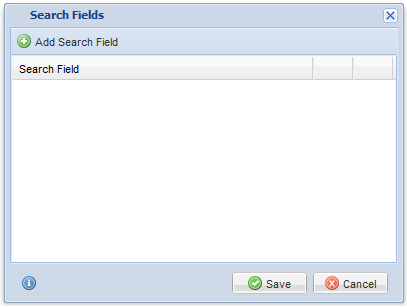
The Search Fields Window lists all of the fields that will be displayed on the Search Form. By default, there are no fields displayed in this window.

Click the Add Search Field button to insert a new Search Field. The following search field types are available:
Basic Field
This is the most commonly used Search Field Type and can be used to search any of the fields on your form. If you select a multi-option field like a drop down or a radio button, you'll be able to configure which options you want to show and if you want to allow multiple selections. Date fields are rendered as Calendar fields and any Text Fields as plain text fields.
Date Range Search Field
The Date Range Search Field type creates two Calendar controls on the Search Page to allow searching between two dates. Only date fields can be selected here.
Numeric Range Slider
The Numeric Range Slider Field type renders a slider element that can be used to search between a low and high numeric value. Note, your database must contain only numeric values in the field selected to be searched. It is highly recommended that numeric validation be applied on the corresponding Form (the public facing form, if any) to ensure that the data to be searched is, in fact, numeric.
Linking to a Search Page
When a Search Page is created, an option to automatically add it to the main menu is provided. The menu entry can be added, or removed by editing the menu settings. Links to the Search Page can also be inserted via the Workflow Link Wizard anywhere content is editable on the page.
- After creating your search page, navigate to the page you want to search and expand the General Settings Panel.
- Click the Opening Content Property to open the editor
- Insert a Workflow Link in the Editor and configure it to open the search page in a Light Box
- On The Light Box Settings page be sure to Use BootStrap Modal is True, and Auto Optimize Content and AutoOptimize Form Buttons are both checked.
- Save and close the Opening Content
- Finally, navigate to the search page and expand the General Settings Panel.
- Set Target Opener to true and Include Search Again Option to false. These settings ensure the popup window targets the opening page when searching.
The result is a search button on the page that opens a modal window with the Search Form Embedded.

Search Page Properties
In addition to the common page properties, Search Pages have the following properties/options:
Data Properties
| Property | Description |
|---|---|
|
Search Fields |
Click to open the Search Fields Window |
|
No Results Message |
The message to be displayed when there are no search results |
|
Search Button Text |
The text label for the search button |
|
Search Button Color |
The search button color |
|
Show Reset Button |
True to show the reset button or false to hide it |
|
On Blank Search |
When set to Return All a blank search will return all records. When set to Return no Results, no records will be returned |
|
Include Search Again Option |
True to include a search again button on the Data Page after a search |
|
Search Again Text |
The text to show in the Search Again button |
|
Target Opener |
Set this to true when the search page is used inside a lightbox and the search results should be displayed in the opening window. |
0 Comments