Adding your Logo to the Login Page
You can add your logo to the login page using this technique.
- Click on the Login Page in the Workflow Designed Outline Panel
- Open the General Settings Property Panel.
- Click to edit the Opening Content Property
- Within the Editor, click the Image Icon in the editor toolbar to open the Image Properties window.
- Click Browse Server and upload your image or select an existing image.
This will insert the image into the editor. Now, in order to position the logo outside of the login border-box, we will change the source code to use absolute positioning.
Tip: Use a small Image
Because of the size of the login window, it is recommended that you use an image that is less than 65px x 65px,OPTIONAL: Using Absolute Positioning
If you want to position the image outside of the bordered-box, you'll need to apply absolute positioning. Read on to learn how.
- Click the Source button in the editor tool bar to switch to source code mode.
- Find the IMG SRC tag and and add a DIV around it using this code:
<div class="logo" style="position:absolute;right:-10px;top:20px;">.....</div>
- The style attribute above will position the image in the top right corner of the login bordered-box. Play with the right and top position properties to find the position that works for you.
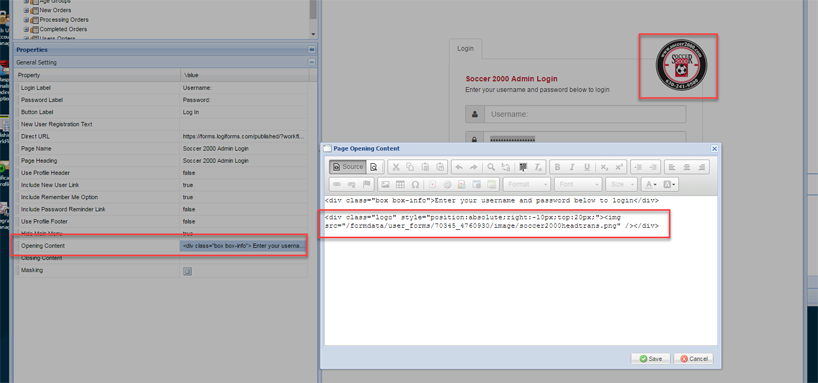
- The final code, including your IMG SRC tag should look like this:
<div class="logo" style="position:absolute;right:-10px;top:20px;">
  <img src="/formdata/user_forms/70345_4760930/image/myimage.png" />
</div>
The image below shows a sample of what the IMG SRC code should look like and how it renders:

Have more questions? Submit a request
Please sign in to leave a comment.

0 Comments